Task Group Creation
Task Group Creation
Before you can start creating individual tasks, you must first set up a Task Group. A Task Group is essentially a container that organizes your tasks by site and product(s). Each group is tied to one specific site only, and can go for one product (single monitor input) or multiple (with multi input).
Steps to Create a Task Group
Navigate to the Tasks Section Go to the Tasks tab in your sidebar or navigation menu.

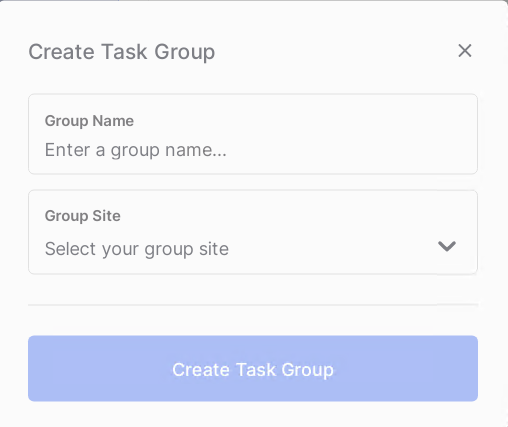
Click “Groups +” In the top right corner of the Tasks page, click the Groups + button. This will open the Task Group creation window.
Name Your Task Group Give your Task Group a clear and descriptive name.
Example: “Walmart Wednesday” or “Target – Pokemon.”
This helps keep multiple groups organized if you’re running tasks across different sites or product types.
Select a Site From the dropdown list, choose the site where you want to run your tasks.
Important: Each Task Group can only run on one site.
If you want to run tasks on multiple sites (e.g., Walmart and Target), you must create a separate Task Group for each site.
Create the Task Group Once named and configured, click Create Task Group. Your new Task Group will appear in the Tasks section, ready for you to add tasks.

Key Notes
One Site per Group: Each Task Group is limited to one site. This is to prevent confusion and keep tasks running smoothly.
Multiple Sites: To run on multiple sites, create additional Task Groups.
Organization Tip: Use descriptive group names so you can quickly identify what each group is for.
Editing Settings: If you do not see the Monitor Input section (where you can set monitor delay, monitor proxy list, product input, etc.), double-click on the Task Group. This opens its settings and allows you to make adjustments.
Last updated
Was this helpful?